Prerequisites
- Have Node.js installed, a good option for managing multiple versions of Node.js on your PC is to install it via NVM. It also has a Windows version.
- An account created on https://www.npmjs.com
1. Initialize a new Project
Create a new directory and initialize NPM:
npm init -y
This will create an initial package.json file
2. Install dependencies
The dependencies we will be using are:
- typescript: TypeScript adds optional types to JavaScript that support tools for large-scale JavaScript applications for any browser, for any host, on any OS.
- @types/node: TypeScript definitions for Node.js
- ts-node: a TypeScript execution engine and REPL for Node.js. It JIT transforms TypeScript into JavaScript, enabling you to directly execute TypeScript on Node.js without precompiling.
Use the following command to install them:
yarn add -D typescript @types/node ts-node
After finish installing the dependencies, initialize TypeScript with:
npx tsc --init
This will create a default tsconfig.json file.
3. Write your first TypeScript code
Create a src folder and a file named index.ts
mkdir src
cd src
touch index.ts
Inside your index.ts file, write a simple function
const triangleArea = (base: number, height: number): number => {
	return (base * height) / 2;
};

export default triangleArea;
4. Building the Project
In your tsconfig.json file:
- update the outputDir property to your desired build directory
- update the include property so that TypeScript does not compile undesired files to your build directory
- update the exclude property so that TypeScript skip them when resolving include
{
	"compilerOptions": {
		...
		"outDir": "./dist",
		...
	},
	"include": ["src"],
	"exclude": ["node_modules", "dist"]
	...
}
Update your package.json file to setup your build script
{
	...
	"scripts": {
		"build": "tsc",
		...
	},
	...
}
5. Setting things up for publishing
In your package.json file, use the files property to set the directory that should be included in your NPM release and the main and types property to determine the entry point of your project
{
	...
	"main": "dist/index.js",
        "types": "dist/index.d.ts",
	"files": ["dist"],
	...
}
Don’t forget to build your project before publishing, you can configure NPM’s prepublishOnly script in your package.jsonto avoid forgetting to build every time you need to publish your package
{
	...
	"prepublishOnly": "npm run build"
	...
}
6. Publishing to NPM
Before publishing, login to NPM
npm login
Publish your package:
npm publish
Congratulations, you have successfully created your first NPM package! To see your published package visit https://npmjs.com/package/your-package-name.
After the first publish, be aware that NPM does not let you publish your package if you don’t increment your version in package.json . A good way to always maintain your version updated is to set up a pre-commit hook that remembers you to increment your version when committing your files, you can read more about this HERE.
7. Publish your package under an Organization Scope
Publishing an NPM package under an organization scope can be very advantageous to avoid naming collisions, creating private packages, etc.
7.1. Create an Organization on NPM
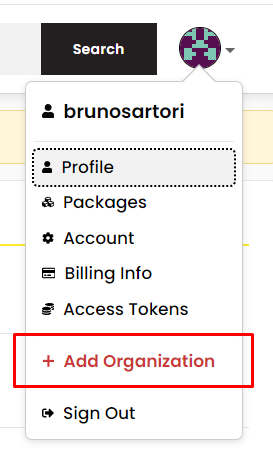
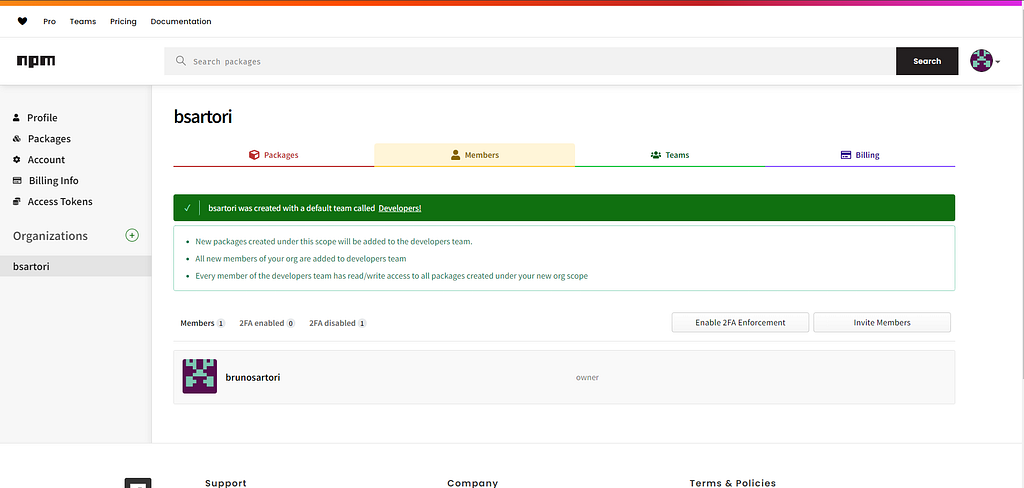
To create an organization scoped NPM package, first you need to create an organization. Go to https://www.npmjs.com, click in the profile icon on the right top side of the screen and click in + Add Organization.
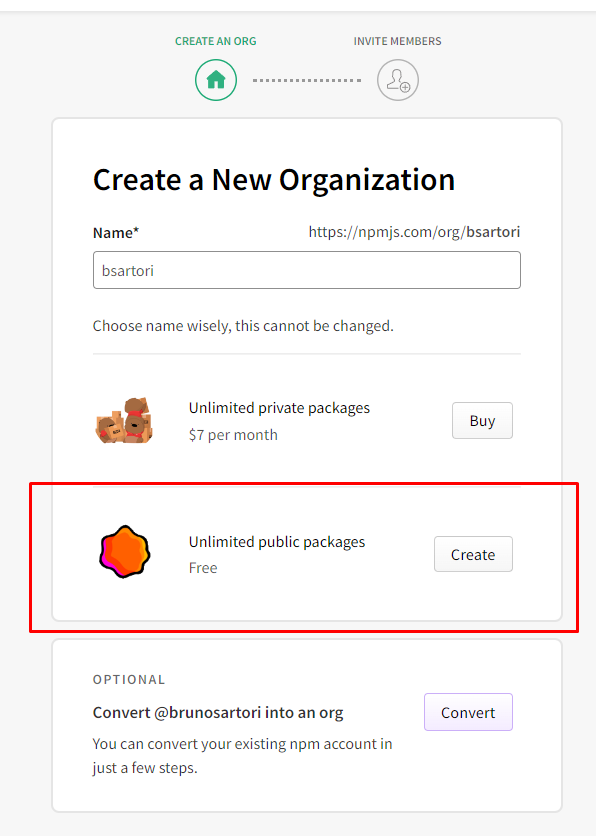
Type the name of your organization and click in the Create button on Free option, which allows you to create unlimited public packages, or, if you want to create private packages, you can buy the private version.
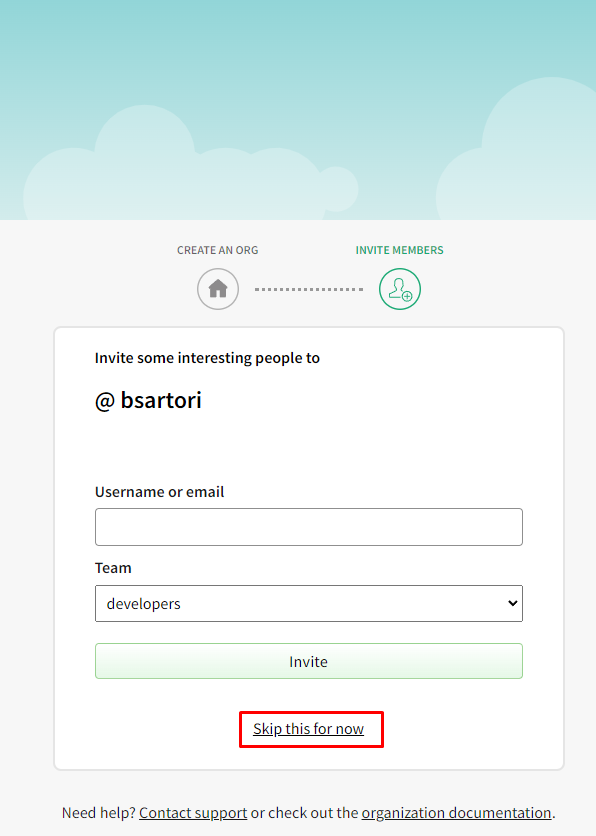
In the next screen, you can invite other people to your organization by typing their npm username or email. We will skip this step by clicking in the button Skip this for now.
After this step, the organization will be successfully created.
7.2. Create an organization scoped NPM package
To create an organization scoped NPM package, after creating the folder for your new project, type:
npm init --scope=@your-organization-name
Continue answering the npm prompts to create a package.json file. You should create the package name with the following format: @your-organization-name/package-name. For example:
@bsartori/weeb-logger
Note: If you already have a NPM project created you don’t need to do npm init again, just change the name property in your package.json file to @your-organization-name/package-name format and you are good to go.
7.3. Publish your organization scoped NPM package
Don’t forget to login on NPM:
npm login
Then publish your package passing the access privileges for the package depending of the organization type you have created:
npm publish --access public
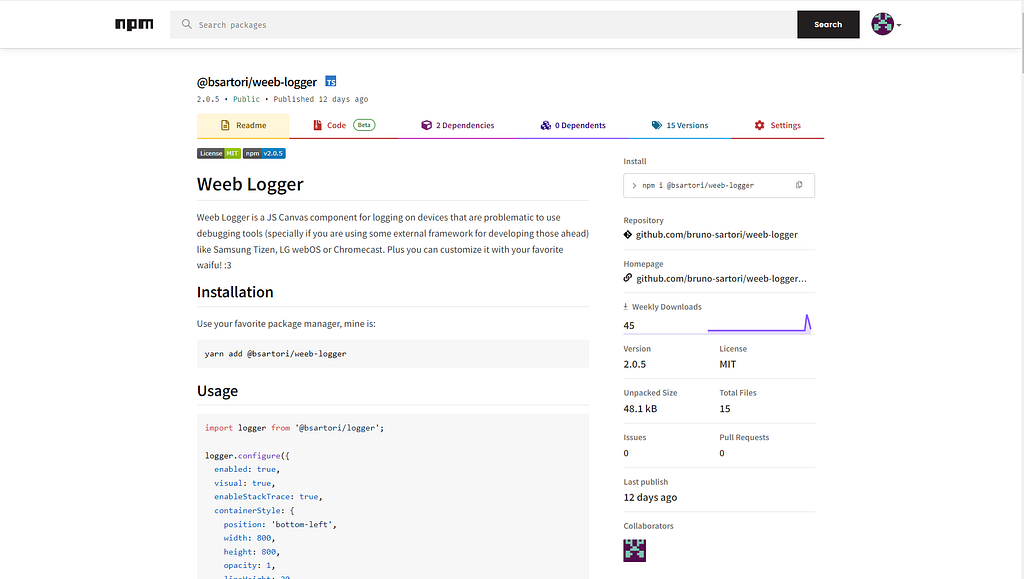
To see your public package, visit https://npmjs.com/package/@your-organization-name/package-name, for example: https://www.npmjs.com/package/@bsartori/weeb-logger
Conclusion
Concluding the process of creating and publishing an NPM package, especially using TypeScript, is a crucial step for developers who want to share their solutions with the community or for private use in their projects. By following this guide, you have learned how to set up your development environment, create a package using best practices, and publish it on NPM, ensuring it is globally accessible. Additionally, exploring publishing under an organization scope provides an extra layer of control and organization for companies and teams. With these skills, you are now equipped to create, manage, and distribute packages efficiently, while maintaining a continuous and automated workflow for future releases.
References
https://docs.npmjs.com/creating-and-publishing-unscoped-public-packages
https://docs.npmjs.com/creating-and-publishing-scoped-public-packages